
My friend Joy has recently been taking some cake decorating classes and I thought that I might offer her a little help practicing. I'm not a professional, but I figured I could share my buttercream recipe and share the little tricks I've learned over the years, plus practice a bit on my own too. It's always more fun to try new stuff with company. I pulled out some decorating books, and after we caught up a bit over breakfast, I whipped up a batch of my favorite butter cream, and we got to work.
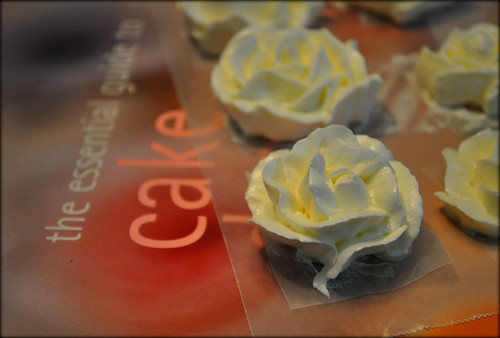
There are ton of good tutorials out there on the web on how to make your own roses, but I must admit, none of them compare to grabbing the tools and getting your hands dirty. As my friend sat across the table from me smoothing down the sides of her cake, we talked and laughed and I practiced. I even got her to pipe some roses while her crumb coat was setting. Apparently she's been watching her mom make them for years and knew exactly what to do, which is why hers look like roses:
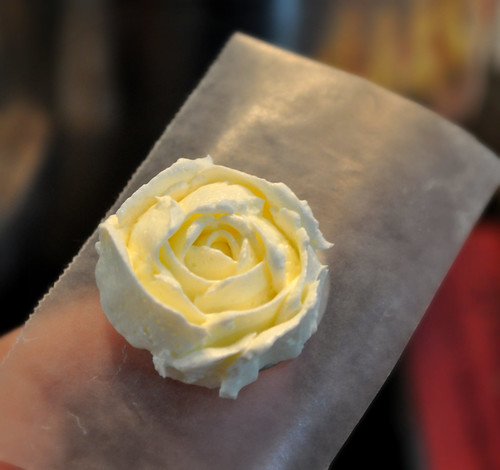
and mine look like cabbages:
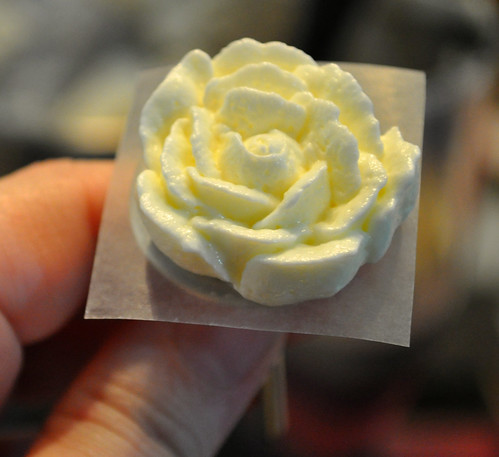
But I am still excited. With a bit more work, a stiffer icing, and maybe a different piping tip, I'm sure I'll be able to get the hand of it, but for now, if you're in need of a vegetable garden themed cake, I'm totally the right person to help you out.
This recipe makes a great tasting frosting that's light and fluffy at room temperature, not tooth-achingly sweet, and can stand up to almost any flavoring and any application. I got it from The Wedding Cake Book
and while it might not be the best thing for roses, it's my go-to recipe and it has served me well.
Italian Meringue Buttercream
from The Wedding Cake Book by Dede Wilson
1/2 cup water
1 1/4 cups plus 1/3 cup sugar
8 large egg whites, room temperature
1 teaspoon cream of tatar
1 1/2 pounds (6 sticks) unsalted butter, at room temperature
Place the water and 1 1/4 cups sugar in a saucepan over medium heat. Stir quickly to moisten all the sugar, but do not stir again during boiling because this encourages the formation of sugar crystals. As the mixture becomes hot, use a pastry brush dipped in cold water to brush any sugar crystals down from the sides of the pan. You may also cover the pan briefly at this point. Steam will develop and wash down the sides of the pans automatically. Bring to a boil and set up your candy thermometer, preferably a digital one with an alarm that you can set.
Meanwhile, place the egg whites in a clean, grease-free mixing bowl, and with the balloon whip attachment beat the whites on low until frothy. Add the cream of tatar and turn the speed to medium-high. When soft peaks form, add the remaining 1/3 cup sugar gradually. Continue beating until stiff, but not dry peaks form.
Depending on how long it took you to deal with the eggs, your sugar might be ready, but if not, raise the heat under it to speed up the process. It must cook for about 5 minutes to reach the desired temperature, between 248 and 250 F. Try to have the syrup ready at the same time as the meringue. If the meringue is ready first, reduce the speed so that the whites move continuously, but slowly. If the syrup is done first, add a small quantity of hot water, not cold water, to lower the temperature and continue cooking until the meringue catches up.
The instructions will now tell you to stop the mixer, pour in the sugar and quickly turn the mixer back up again, but this will most likely result in a bunch of hardened sugar stuck to the bowl of your mixer, and that just won't do. The way I do this is I crank up the mixer to high and slowly pour the sugar syrup right in in a thin stream into the space between the bowl's side and the beaters. A bit of it might still stick to the side, but it will be minimal, and it should all go well from here.
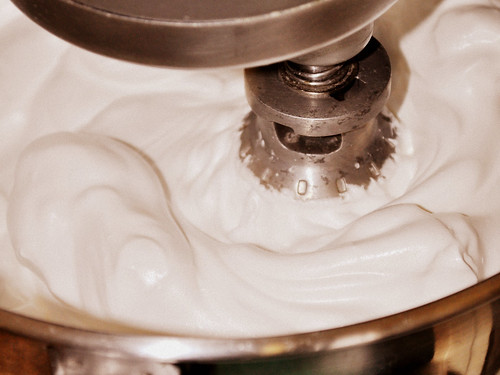
Whip the meringue until it cools, about 15 minutes, depending on the room temperature. When the bowl is no longer warm, stop the mixer and touch the surface of the meringue to be sure it is cool. Do not add the butter which the meringue is warm, or the butter will melt and ruin the texture and decrease the volume. If after about 15 min your meringue is still warm (and so is your mixer), just pop the bowl with the whip attachment into the fridge for a few minutes to cool down. Just whip it again for a minute once you take it out and you should be all set to continue with the butter. It should look something like this at this point:
Turn the mixer down to medium speed and add the butter, 2 tablespoons at a time. The butter immediately becomes incorporated and the mixture becomes creamy. Continue to whip the buttercream and add the remaining butter. Keep mixing until the mixture is evenly blended and smooth. If at any time the mixture looks lumpy or separated, continue to beat until it smooths out. If your meringue was too warm and you see that things are getting soupy, just stop, pop the bowl into the fridge for a few minutes and continue. Once all the butter is in and the butter cream is smooth, you can add any flavorings you like. I've added fruit purees, all kinds of extracts, Nutella and lemon curd. Just keep an eye on the consistency to make sure you don't end up with soup again and you should be fine.
Use right away or store in an airtight container in the refrigerator or freezer. If you do store it for later, just let it come to room temperature and whip it back into shape with a few minutes in your mixer.
No comments:
Post a Comment